| Applicable Versions | NetSim Standard | NetSim Pro |
| Applicable Releases | v13 |
2. Go to Mobility project through the solution explorer and open the file Mobility. c. Add/modify the lines of code highlighted in red at the beginning of the file as shown below:
#include "Mobility.h"
#include "Animation.h"
static unsigned int nCallBackCount=0;
int fn_NetSim_Mobility_configure_NodeJoinProfile(void* xmlNode,NETSIM_ID nDeviceId);
int fn_NetSim_Mobility_NodeJoinInit(NETSIM_ID nDevIndex);
int fn_NetSim_Mobility_NodeJoined();
int fn_NetSim_Mobility_NodeLeaved();
char* set_node_position(int nDeviceID, char* filename);
int lines = 0;
bool flag = false;
char* set_node_position(int nDeviceID, char* filename)
{
char ch;
FILE* fp;
int id;
int row,col;
int i = 0, j = 0;
char line[4098];
const char* tok;
double x, y;
if (!flag)
{
fp = fopen(filename, "r");
if (!fp)
{
fnNetSimError("Unable to open %s file %s\n", filename);
return;
}
while ((ch = fgetc(fp)) != EOF)
{
if (ch == '\n')
lines++;
}
flag = true;
fprintf(stderr, "\nTotal number of lines are: %d\n", lines);
fclose(fp);
}
fp = fopen(filename, "r");
if (!fp)
{
fnNetSimError("Unable to open %s file %s\n", filename);
return;
}
row = NETSIM_RAND_RN((lines-1), 1);
if (fp)
//Match Row
while (fgets(line, 4098, fp) && (i < row))
{
if (i == row)
break;
i++;
}
else
{
fprintf(stderr, "\nRow: %d, Column: %d, Value: Error", row, col);
_getch();
return "";
}
char* rest = line;
//Match Column for X-axis
col = 0;//column number containing the X axis values, Y is assumed to be in the next immediate column
while ((tok = strtok_s(rest, ",", &rest)))
{
if (j == col)
{
if (fp)
fclose(fp);
sscanf(tok, "%lf", &x);
tok = strtok_s(rest, ",", &rest);
sscanf(tok, "%lf", &y);
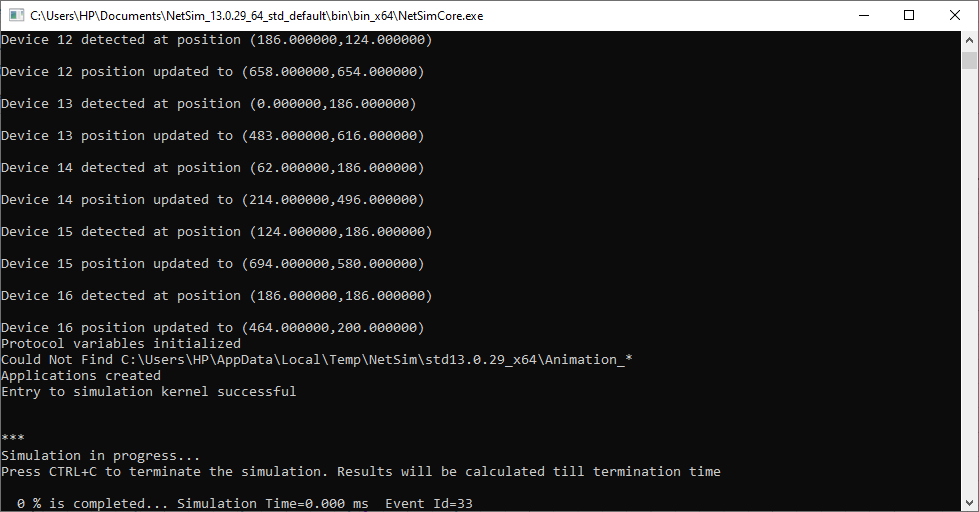
fprintf(stderr, "\nDevice %d detected at position (%lf,%lf)\n",
nDeviceID, DEVICE_POSITION(nDeviceID)->X, DEVICE_POSITION(nDeviceID)->Y);
NetSim_COORDINATES* dc = DEVICE(nDeviceID)->pstruDevicePosition;
dc->X = x; dc->Y = y;
fprintf(stderr, "\nDevice %d position updated to (%lf,%lf)\n",
nDeviceID, DEVICE_POSITION(nDeviceID)->X, DEVICE_POSITION(nDeviceID)->Y);
}
j++;
}
}
ANIM_HANDLE animHandle;
_declspec(dllexport) int fn_NetSim_Mobility_Init(struct stru_NetSim_Network *NETWORK_Formal,
NetSim_EVENTDETAILS *pstruEventDetails_Formal,
char *pszAppPath_Formal,
char *pszWritePath_Formal,
int nVersion_Type,
void **fnPointer)
{
NETSIM_ID nLoop;
NETWORK = NETWORK_Formal; //Get the Network structure from NetworkStack
pstruEventDetails=pstruEventDetails_Formal; //Get the Eventdetails from NetworkStack
pszAppPath=pszAppPath_Formal; //Get the application path from NetworkStack
pszIOPath=pszWritePath_Formal; //Get the write path from NetworkStack
nVersion_Type = nVersion_Type; //Get the version type from NetworkStack
char fname[BUFSIZ] = "nodesXY_file.csv";
for (int i = 0; i < NETWORK->nDeviceCount; i++)
{
set_node_position(i + 1, fname);
}
init_mobility_animation();
5. If the positions need to be updated only for specific type of devices, then the condition can be written inside the for loop before calling the set_node_position() function for updating the coordinates.

6. Create a network scenario in MANET/VANET/WSN/IoT network with a grid area as per the range of coordinates present in the input CSV file. If the coordinates present in the input file lies in the range 0 to 1000 meters, then the simulation grid can be set to 1000 meters while creating the network scenario.
8. Now upon running the simulation, NetSim will automatically detect the current location of the devices in the network and update the positions based on the input CSV file provided.
Setting RSU positions by reading from an excel file for a VANET network scenario:
For example, if the RSU positions need to be set, reading from an excel sheet containing the coordinates, initially RSU's need to be manually placed in the grid environment based on how many are required. While placing the RSU's the position can be random, since, it will get overwritten when the simulation starts, by reading the excel file.
for (int i = 0; i < NETWORK->nDeviceCount; i++)
{
if (DEVICE(i + 1)->pstruDeviceMobility->nMobilityType == MobilityModel_NOMOBILITY)//RSU
{
fprintf(stderr, "\nRSU %d detected at (%lf,%lf)\n", i + 1, DEVICE_POSITION(i + 1)->X, DEVICE_POSITION(i + 1)->Y);
set_node_position(i + 1, fname);
}
}
4. After connecting all the dropped RSU's to the Adhoc link, configure traffic in the network by clicking on the Application option.
Useful references:
how-do-i-interface-with-sumo-for-vanet-simulation-
how-to-include-rsu-rtu-in-netsim-vanet-simulations-
how-to-move-a-node-from-one-coordinate-to-another-pre-decided-coordinate-say-100-100-